
One thing I’ve become somewhat over-interested in of late is more accurate coach formations and I’m also increasingly aware of the limitations of off the shelf products in this respect.
Stopping passenger trains on the Waverley were largely composed of Gresley 61′ corridor stock until about 1960 when Mk1 stock began to dominate. Hornby’s Gresley corridor stock has some notable flaws which conversion such as I’m undertaking can address to a limited extent. Chiefly from my point of view, it’s the limited usefulness of the provided variants that are of concern here though and this has necessitated using the Gresley models as conversion platforms. One of the glaring omissions is a corridor composite coach and I have used the Comet sides to graft on to a suitable donor, in this case, a sleeper third. Coach conversions are new territory for me so I apologise if my techniques are a little rudimentary – Larry Goddard I sure as hell ain’t!
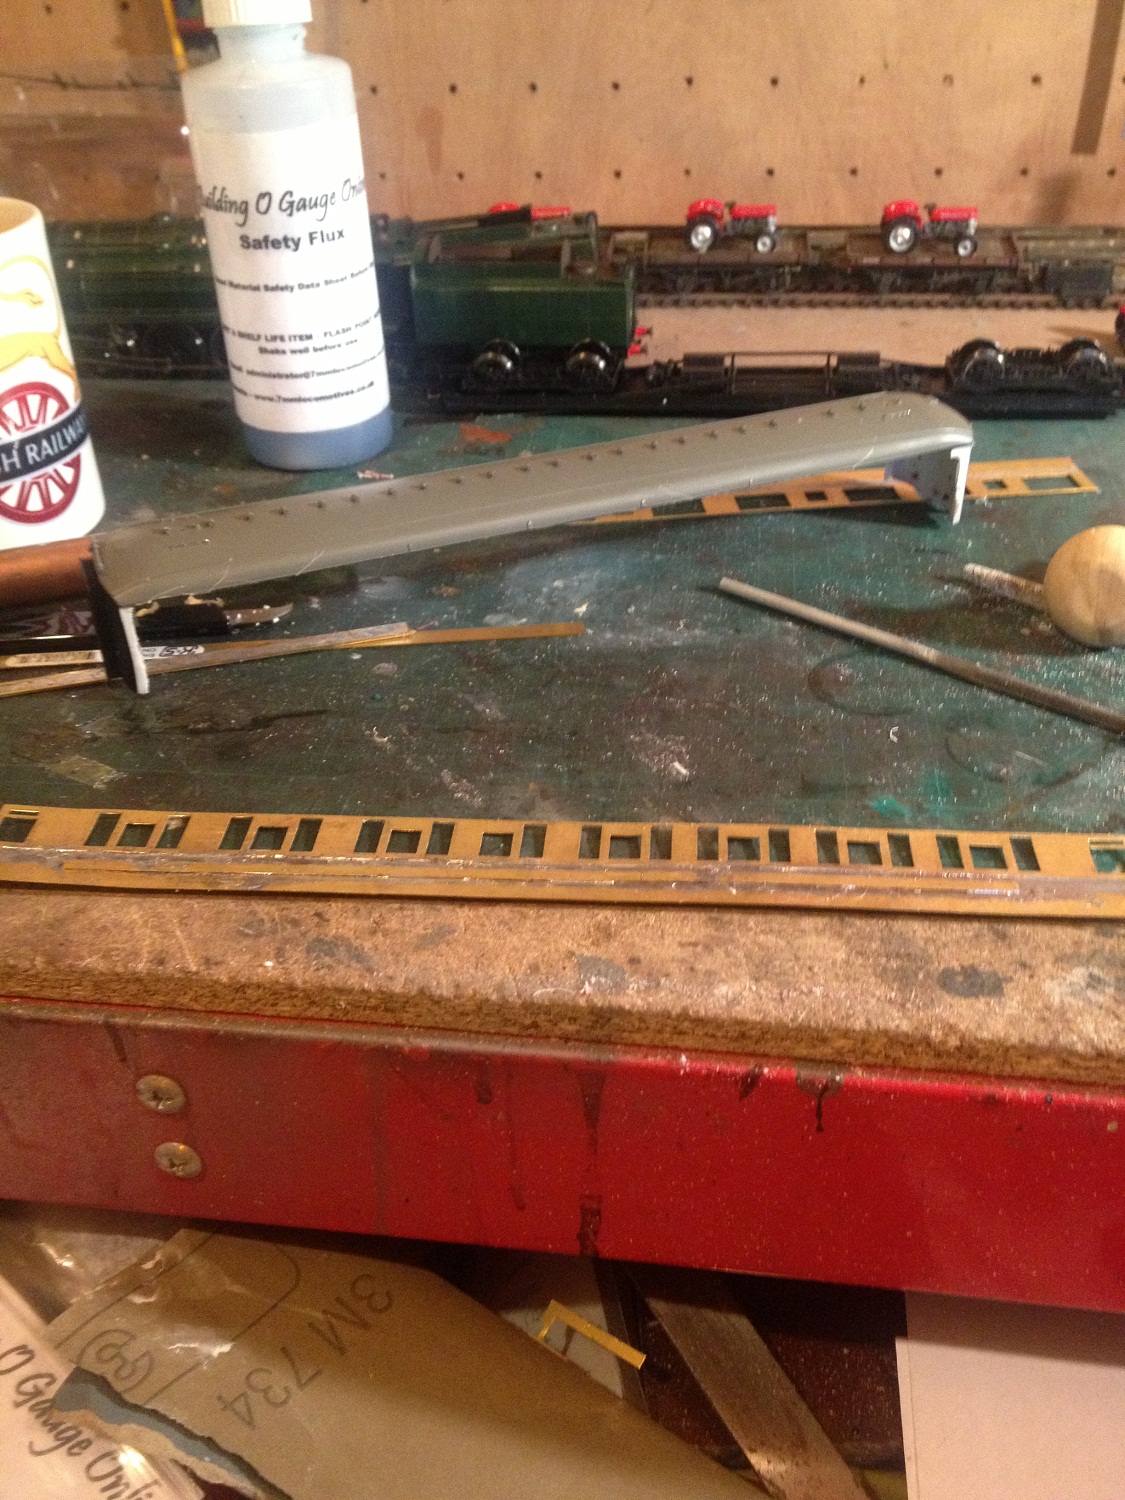
The coach sides were unceremoniously removed using a razor saw and scribing tool. This task was undertaken with less finesse than was perhaps required but as it’s the first in a selection of models, I’m sure the techniques will refine with experience. Some stub ends were retained for basic mounting of the sides. The sides themselves had been prefabricated prior to this. You’ll notice that I have added a reinforcing strip of brass on the lower side as there isn’t a great deal of rigidity in the basic etching. Prior to doing this and after joining the upper and lower halves of the coach side (it comes in two parts) I rolled the sides to an approximation of tumblehome.
The Gresley coaches initially produced by Hornby have some rather odd issues with the end profile and tumblehome. This has been partly addressed with the more recent BG which I used as a guide to a more correct profile. In fact the raised vertical strips on the end on the outermost pretty much conform with the improved profile so I used these as a template and filed the outer profile to match. The result looks a lot better.

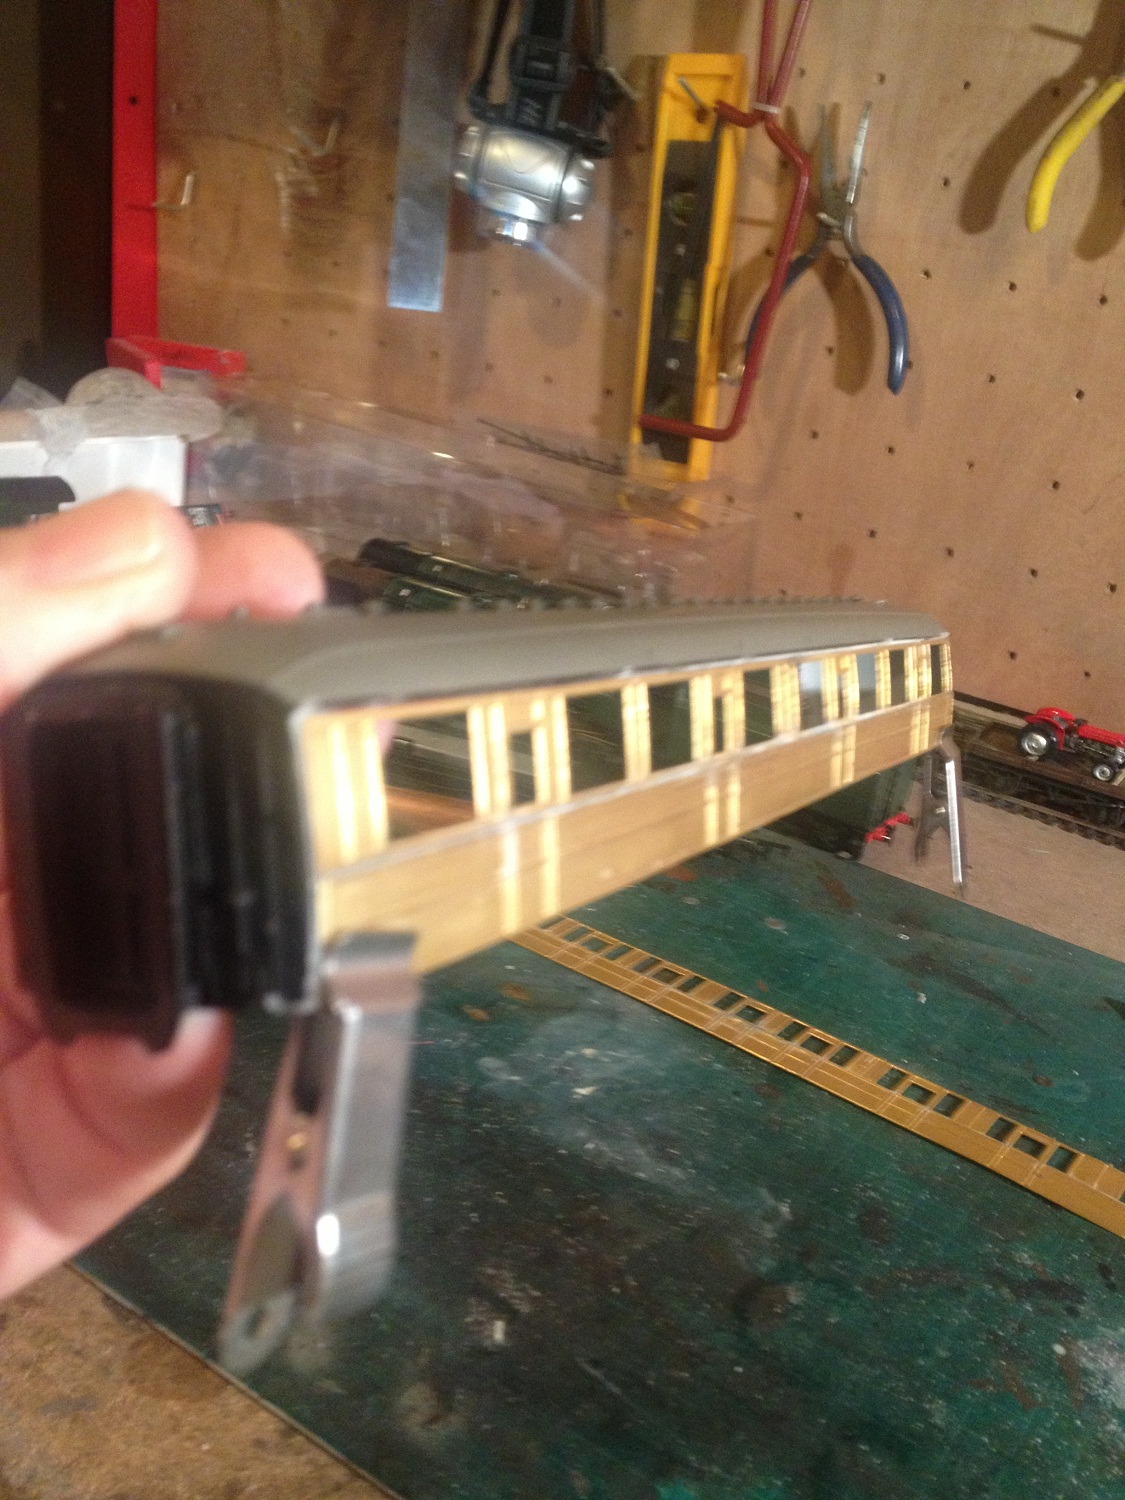
With the sides in place, it becomes obvious that more support is required at the top where the roof meets the sides. My method is somewhat agricultural but effective. The crude cutting away will also mean I need to do a bit of filling underneath the gutters but a lesson learned.
It’s at this time you realise that you’ll need to create new internal partitions and compartments so, using the sleeper’s internal arrangement moulding is used to create a new floor template from plasticard. I’ll show this later when some progress has been made.
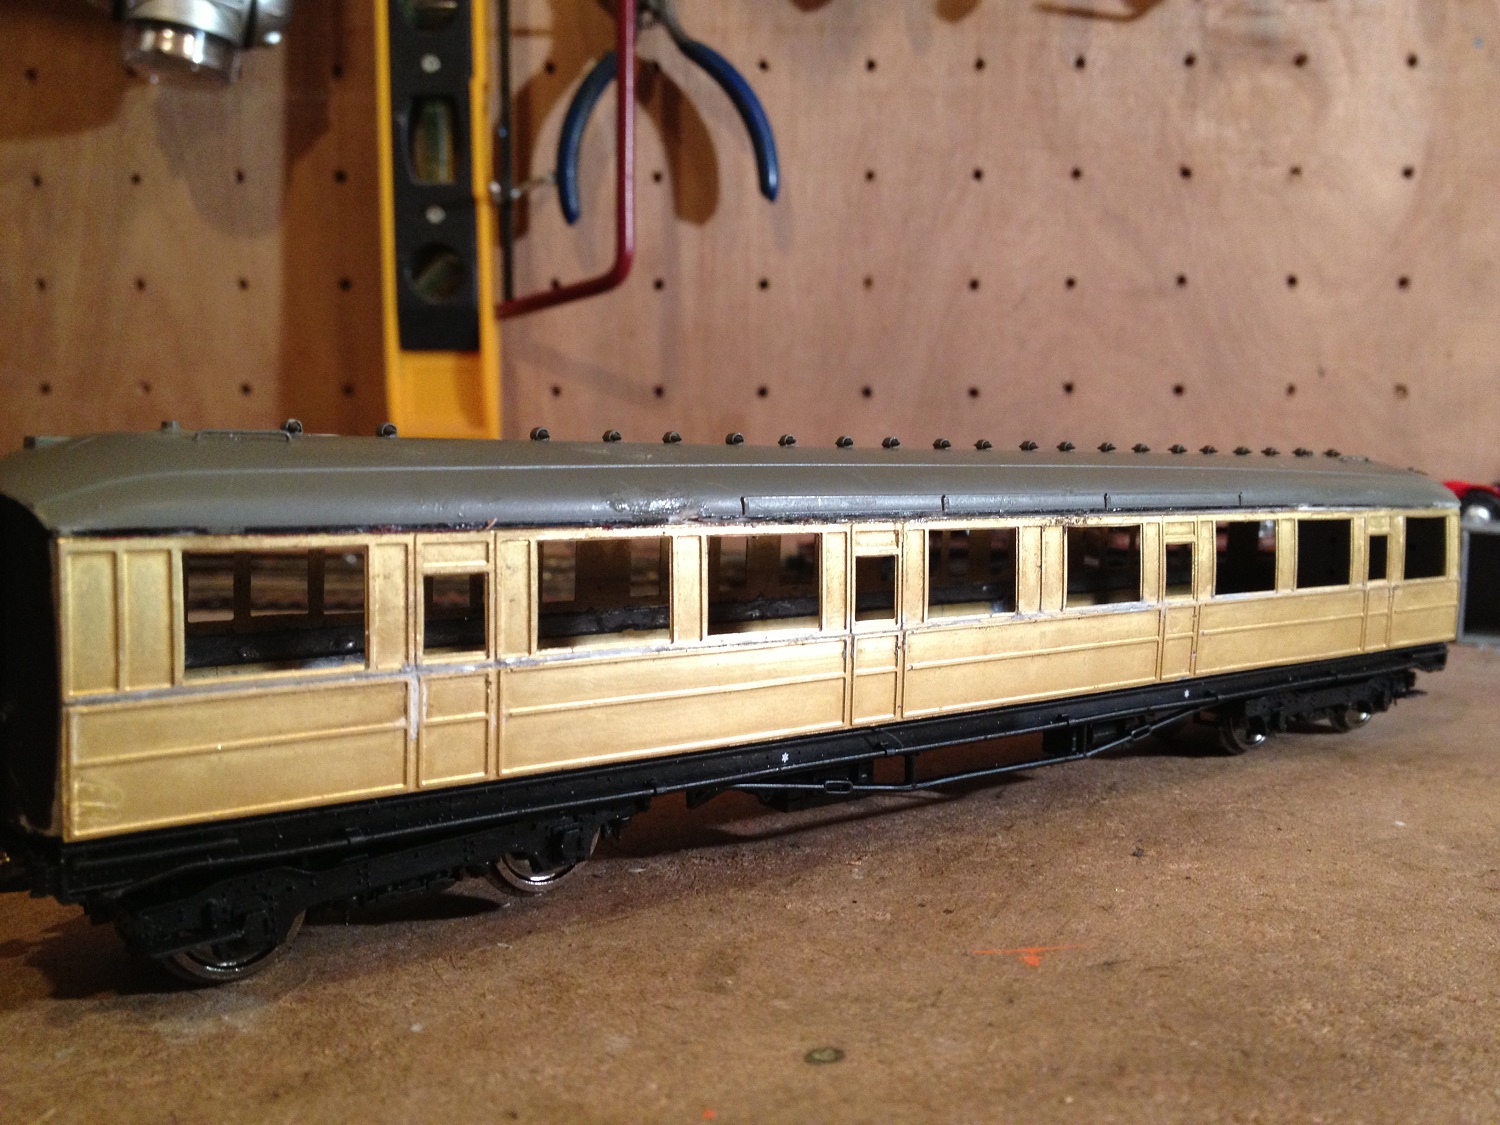
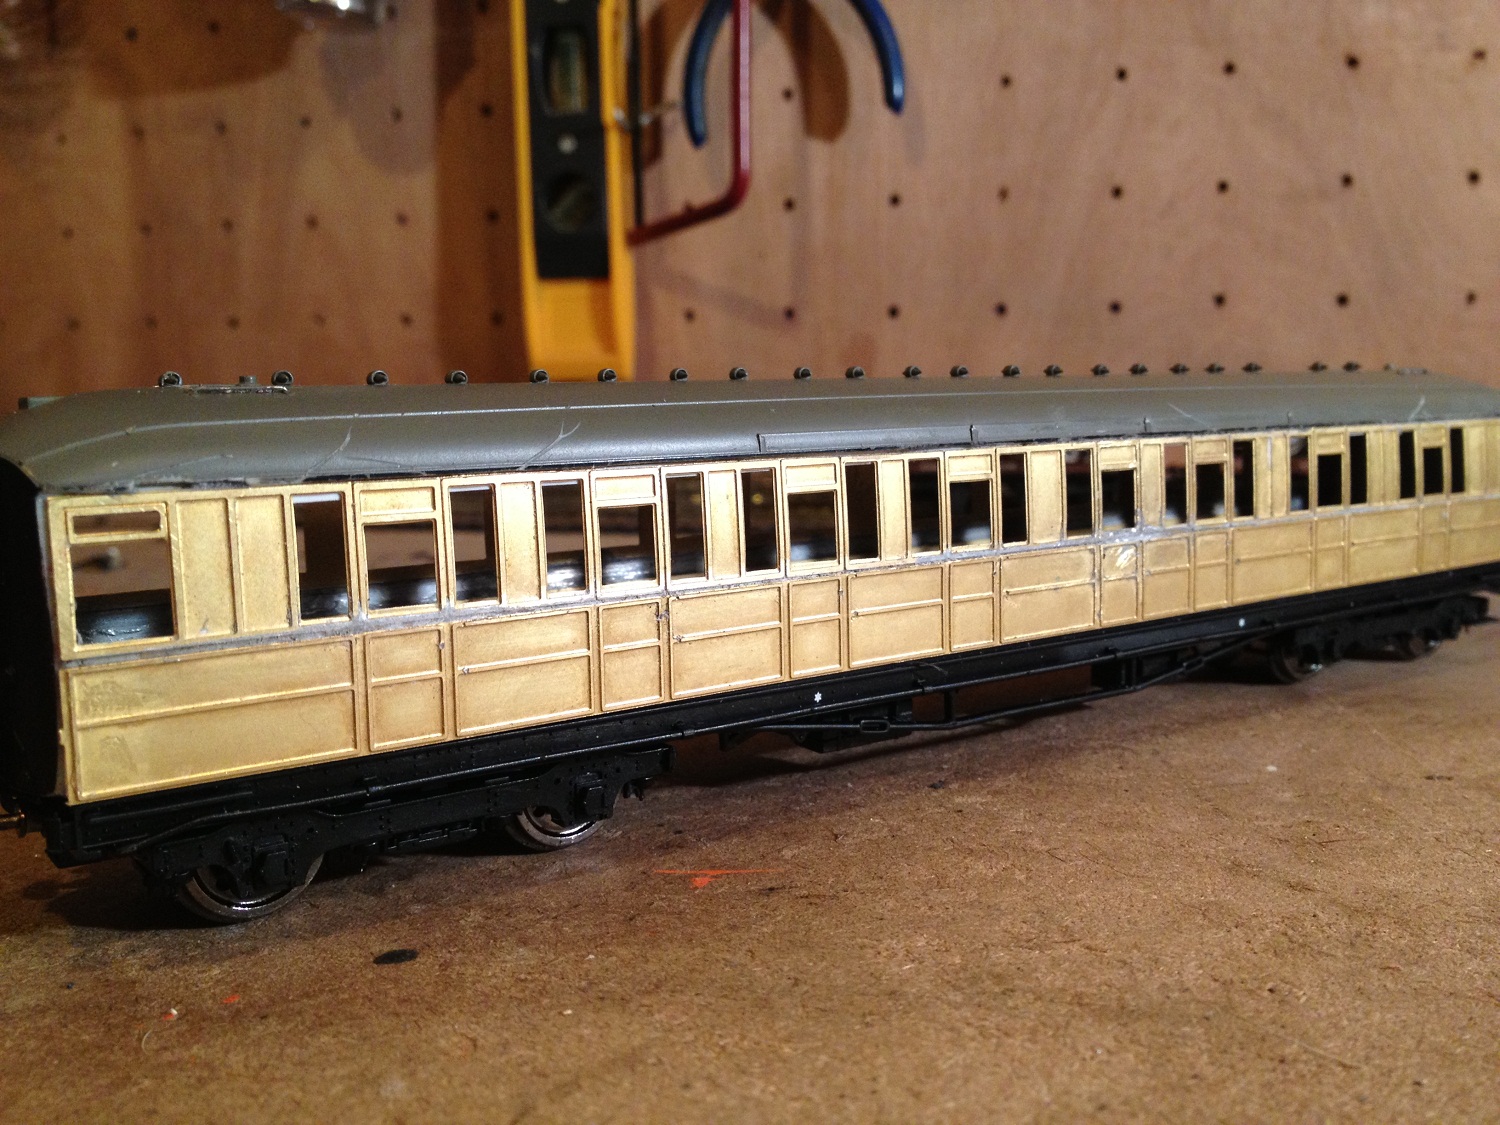
So, the basic superstructure is now complete. I’ll add the doorhandles and the like once paint has been applied. The underframe equipment will also require modification as that under the CK was arranged differently from the SLT.
These are jobs for another day though; we’ll pause here with a couple of images of the basic bodyshell temporarily mounted on the chassis and looking better than I truly anticipated at this point.

Leave a comment